Creating a bootable macOS installer is one of those technical chores that feels outdated until you need it. It’s rarely part of everyday use, but it can save hours when dealing with a clean install, a dead system, or setting up multiple Macs without downloading the same OS again and again. The process is straightforward, but it comes with a few quirks that trip people up. Here’s a clear walkthrough, including the spots where things tend to go sideways.
When You’d Actually Need One
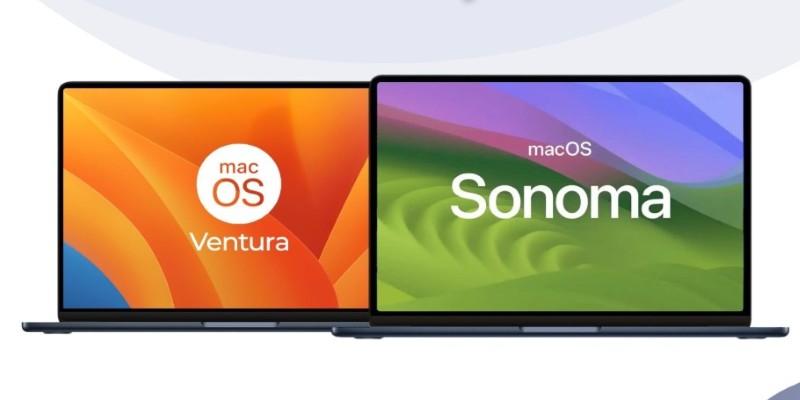
Apple makes macOS recovery seamless these days. Most folks never touch a bootable installer. But there are a few times it makes a real difference. Maybe a Mac won’t boot into recovery mode at all. Maybe you’re managing several machines and don’t want to burn through bandwidth downloading Ventura or Sonoma five separate times. Or maybe you’re wiping an older Mac and want to install a specific OS version instead of the latest one Apple pushes.
The bootable USB method also avoids some of the permission and internet connection hiccups that can happen with internet recovery. If you're working in a lab or setting up machines for offline use, it keeps things consistent.
It’s worth noting that newer Macs with Apple silicon handle boot permissions differently. You can't just plug in a USB stick and hold Option like in the Intel days. On Apple silicon, you need to shut the Mac down, then press and hold the power button until “Loading startup options” appears. It’s a small but important distinction that trips up folks trying to follow older tutorials.
Getting the Right macOS Installer
Before making anything bootable, you need the actual installer. This is where things can get frustrating. Apple doesn’t make old versions of macOS obvious to find, and the App Store search won't always surface them.
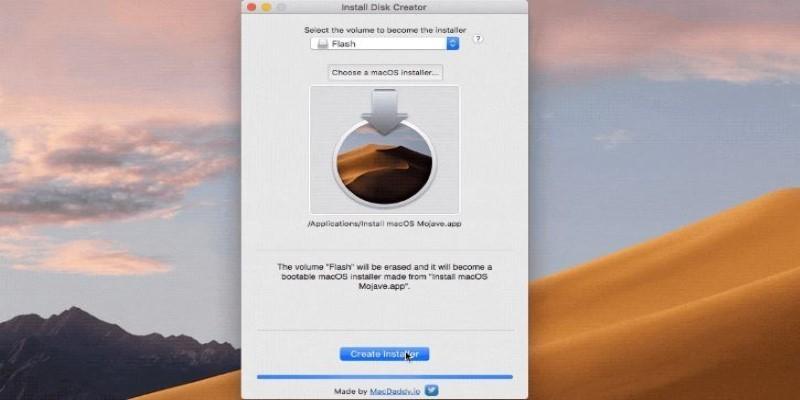
For current or recent macOS releases, like Sonoma or Ventura, you can use direct App Store links from Apple’s support site. Click the link from Safari, and it’ll open the App Store to the right page. Once downloaded, the installer will land in your Applications folder with a name like “Install macOS Ventura.”
If you move it or rename it before creating the bootable drive, the command-line tool won’t work correctly. Keep it untouched. Also, don’t launch the installer when it finishes downloading. That starts the upgrade process on your Mac, which you don’t want.
Older versions like Catalina or Mojave might require a bit more digging. Apple still hosts them, but System Integrity Protection and signing changes sometimes block their use unless you're on a compatible Mac. Running the download from a newer macOS might even return an error saying the app is damaged. That’s not actually true—it’s usually just an expired certificate, and resetting the system date in Terminal during installation often bypasses it. Still, this isn’t beginner-friendly territory.
Creating the Installer with Terminal
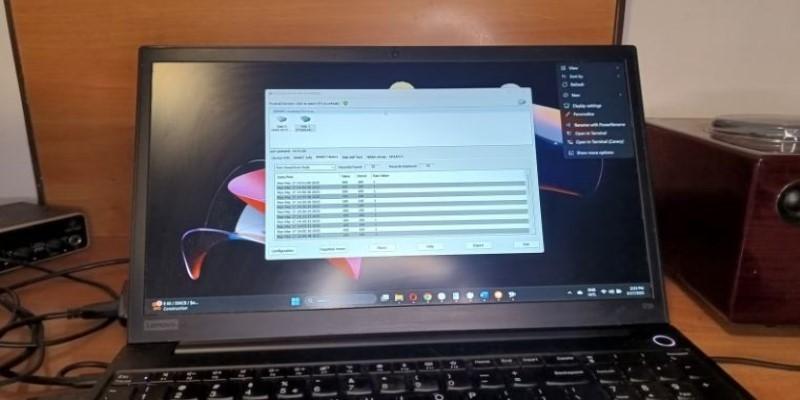
Assuming the installer is sitting in your Applications folder and you’ve got a USB drive with at least 16GB of space, the next step happens in Terminal.
First, format the drive as Mac OS Extended (Journaled) with a GUID Partition Map using Disk Utility. Don’t skip this step or use APFS; the createinstallmedia command doesn’t like it. Name the drive something simple like “MyVolume” to avoid syntax issues.
The command to create the installer looks something like this:
sudo /Applications/Install\ macOS\ Ventura.app/Contents/Resources/createinstallmedia --volume /Volumes/MyVolume
It’ll ask for your password, warn that it’s going to erase the drive, and then start copying files. The process can take several minutes, especially for larger installers. There’s no flashy progress bar, just incremental percentage updates in the Terminal.
One hiccup that happens often: people use the wrong volume name, or the installer isn't in the default location. That leads to "command not found" or "path does not exist" errors. If you're unsure, drag the installer into Terminal instead of typing the path manually. That eliminates spacing issues and weird typos.
On older Macs or OS versions, the command syntax might vary slightly, but Apple’s support articles usually provide the latest formats for each release.
Booting from the USB Installer
Once the drive is ready, it's time to boot from it. On Intel Macs, restart and hold the Option key until the boot picker appears. Select the USB drive, which should be labeled “Install macOS [Version].”
On Macs with Apple silicon, it’s a different dance. Fully shut the Mac down, then press and hold the power button until “Loading startup options” shows up. That screen looks slightly different, but the result is the same. Choose the installer and follow the prompts.
From there, you can use Disk Utility to erase the internal drive if you’re doing a clean install, or go straight into the OS installation. This is also a handy place to run First Aid on a problematic disk or to install the OS on an external drive for testing.
One limitation to know: if you're trying to install macOS on a Mac that originally shipped with a newer OS than your installer, it won’t work. You can’t downgrade below the macOS version the machine came with. For example, a MacBook released with Ventura won’t install Monterey, even if the USB installer works perfectly on another machine.
Another wrinkle is network requirements. Some OS versions check Apple’s servers during install, even from a USB. If you’re in an offline environment, this could block the install midway unless the installer was downloaded recently or your Mac has the correct date set.
Conclusion
Creating a bootable macOS installer is one of those tasks that seems overly technical until it saves you. It gives more control over the setup process, especially when internet-based recovery options aren’t reliable or available. The steps haven’t changed much in the last few years, but the introduction of Apple silicon adds a few quirks. With the right installer, a properly formatted USB, and some Terminal work, it’s still a straightforward way to get macOS running cleanly on any compatible Mac.